
Commercial Roof Flashing Repair in Gresham, OR
Trace the leak to its roof transition
- Home
- Roof Damage Repair
- Commercial Roof Flashing Repair
A roof transition needs more than sealant at the visible joint. Flashing connects the field membrane to a wall, curb, pipe, drain, or metal edge, and each detail moves differently as temperatures and equipment loads change. We inspect the material, attachment, laps, and water path before choosing a repair. A production building near Gresham’s Glisan and Stark High-Tech Employment Corridor may have rooftop process equipment and several curb transitions to coordinate. The nearby Southshore Corporate Park combines manufacturing and distribution uses, where a leak around a penetration can interrupt more than one operating area.
Where does flashing fail on a commercial roof?
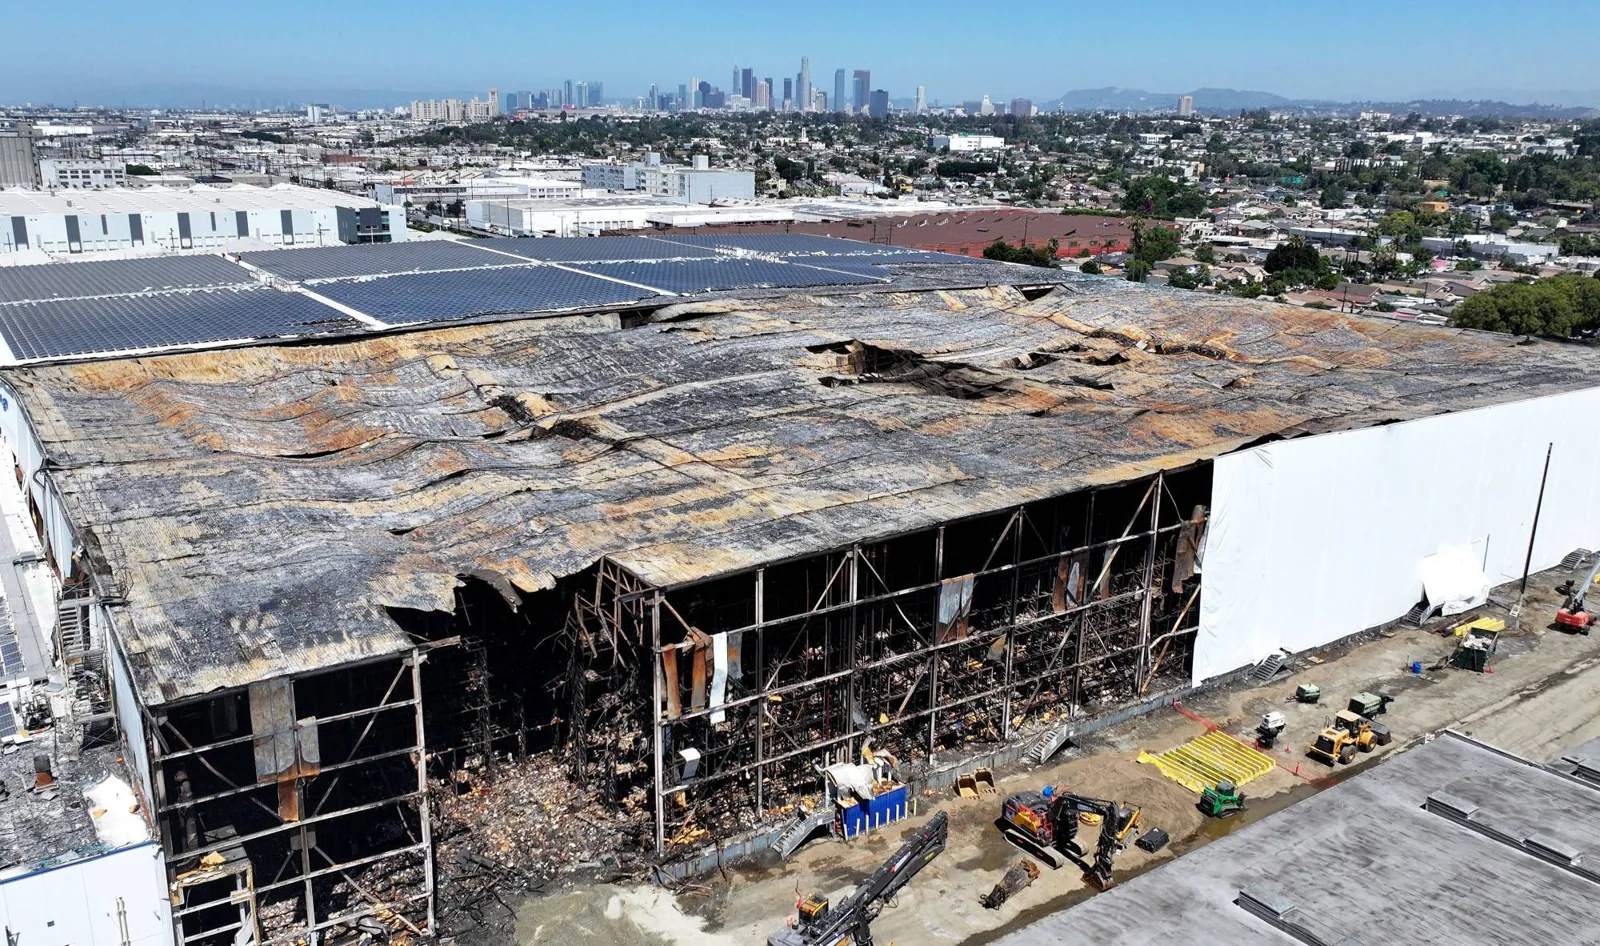
Common trouble spots include curb corners, parapet terminations, pipe boots, expansion joints, scuppers, skylights, and metal-to-membrane edges. The first sign may be a gap, loose counterflashing, cracked coating, split sealant, or membrane that has pulled away from a vertical surface. We photograph the detail from close range and from enough distance to place it on the roof map. A repair scope should say which transition is open and what material surrounds it.
A building can have several flashing methods on the same roof. A liquid-applied detail may cap irregular geometry, while a preformed boot suits a round penetration. Metal counterflashing can protect an upturned membrane at a wall. The compatible repair depends on the original roof system and condition beneath the visible surface. A penetration-flashing review can include the curb, fasteners, membrane turn-up, and nearby equipment support without assuming that sealant alone will restore the assembly.
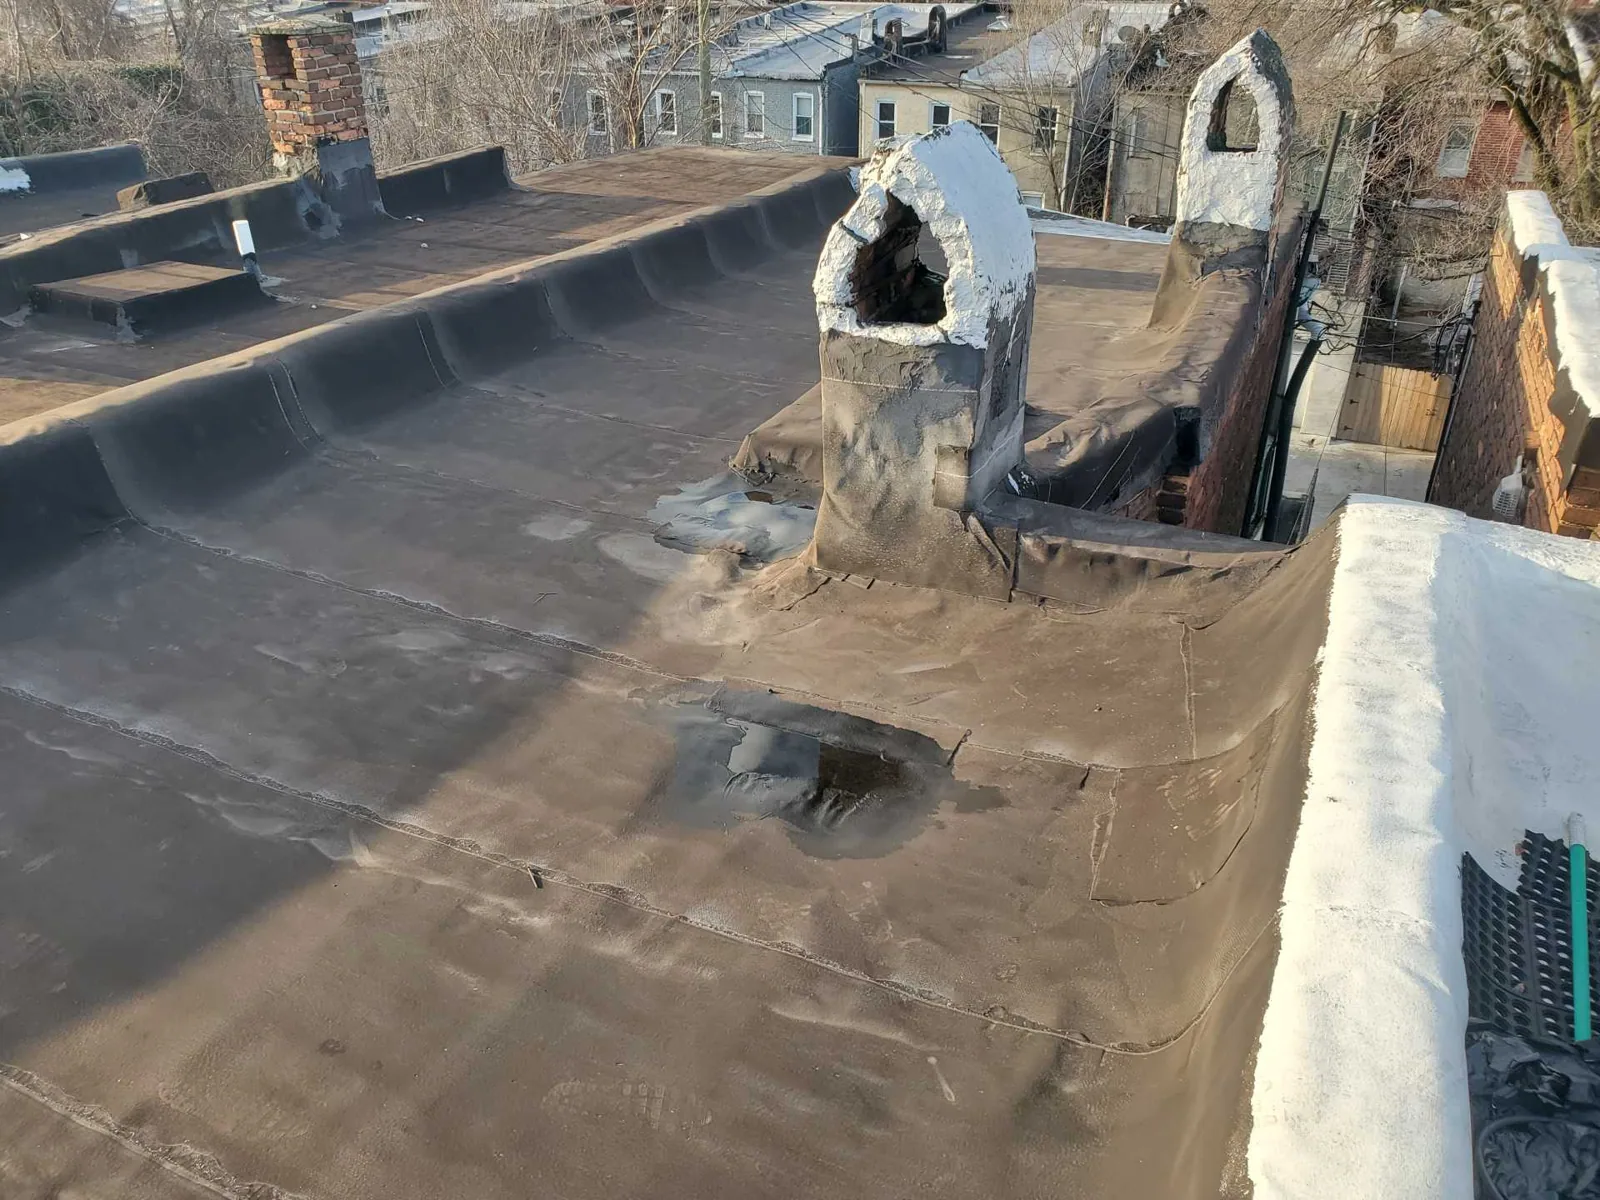
Why does a bead of sealant fail again?
Sealant may crack, pull loose, or lose adhesion when the joint moves, the surface was not prepared, or the material does not suit the surrounding roof. Applying a new bead over dirt, standing water, or a failed layer can trap moisture without restoring attachment. A durable repair starts by identifying the joint type, removing unsound material, preparing the surface, and rebuilding the transition with compatible components. We show the detail in the scope rather than describing the work only as caulking.
Long wet periods can keep a weak lap or curb corner exposed to water. Portland International Airport’s NOAA 1991-2020 record reports 157 days with measurable precipitation each year, most from fall through spring. That station is a regional reference, not a forecast for an individual roof. The recurring moisture makes drainage and clean terminations worth checking alongside the failed flashing. If water reaches a seam, a seam inspection can establish whether the lap is an additional repair item.
What should the flashing inspection include?
We identify the roof system where known and inspect the flashing’s condition, height, attachment, laps, termination, and compatibility with adjacent materials. At a curb, that includes corners and the point where the field membrane meets the vertical face. At a parapet, we look at the membrane turn-up, coping, counterflashing, and drainage path. At a pipe, we check the boot or field-fabricated detail, fasteners where visible, and the surface around the penetration.
The report includes close photographs, roof-zone labels, nearby leak reports, and access limitations. If the detail sits behind equipment or a screen, we describe what could be reached and what remains hidden. We can document repair alternatives when the owner needs to compare a limited patch with reconstruction of a larger transition. A roof condition report ties each recommendation to visible evidence, so later work can be matched to the original concern.
Moisture below the membrane can change the repair boundary. An infrared survey may help locate suspect areas under suitable conditions, but a test cut may be needed to confirm the assembly. The owner approves any opening, and the crew plans its closure before beginning. If readings or weather do not support a clear conclusion, we state the limitation and avoid presenting a possible moisture extent as a confirmed one.
How do we choose a compatible flashing repair?
A small, isolated split may be repaired by removing failed material, preparing a sound surface, and installing a system-compatible patch or seal. A curb with loose membrane or multiple open corners may need new flashing across more of its perimeter. Metal counterflashing can require fastening or replacement if it has lost attachment. We define each boundary and explain why the selected material suits the existing assembly.
When the membrane has aged beyond one detail or similar failures recur across roof zones, compare repair cost and disruption with broader restoration or replacement. A coating cannot solve a wet substrate or poorly formed transition simply by covering it. A recover also needs sound materials, compatible layers, adequate slope, and details that can accept the added assembly. The repair proposal should identify preparation, tie-ins, temporary protection, and any adjacent item excluded from the work.
Timing depends on weather, roof access, the height of the detail, material cure conditions, occupied hours, and whether equipment must be moved. Some work can be completed in one access window; a larger curb rebuild may need staged protection and a planned shutdown.
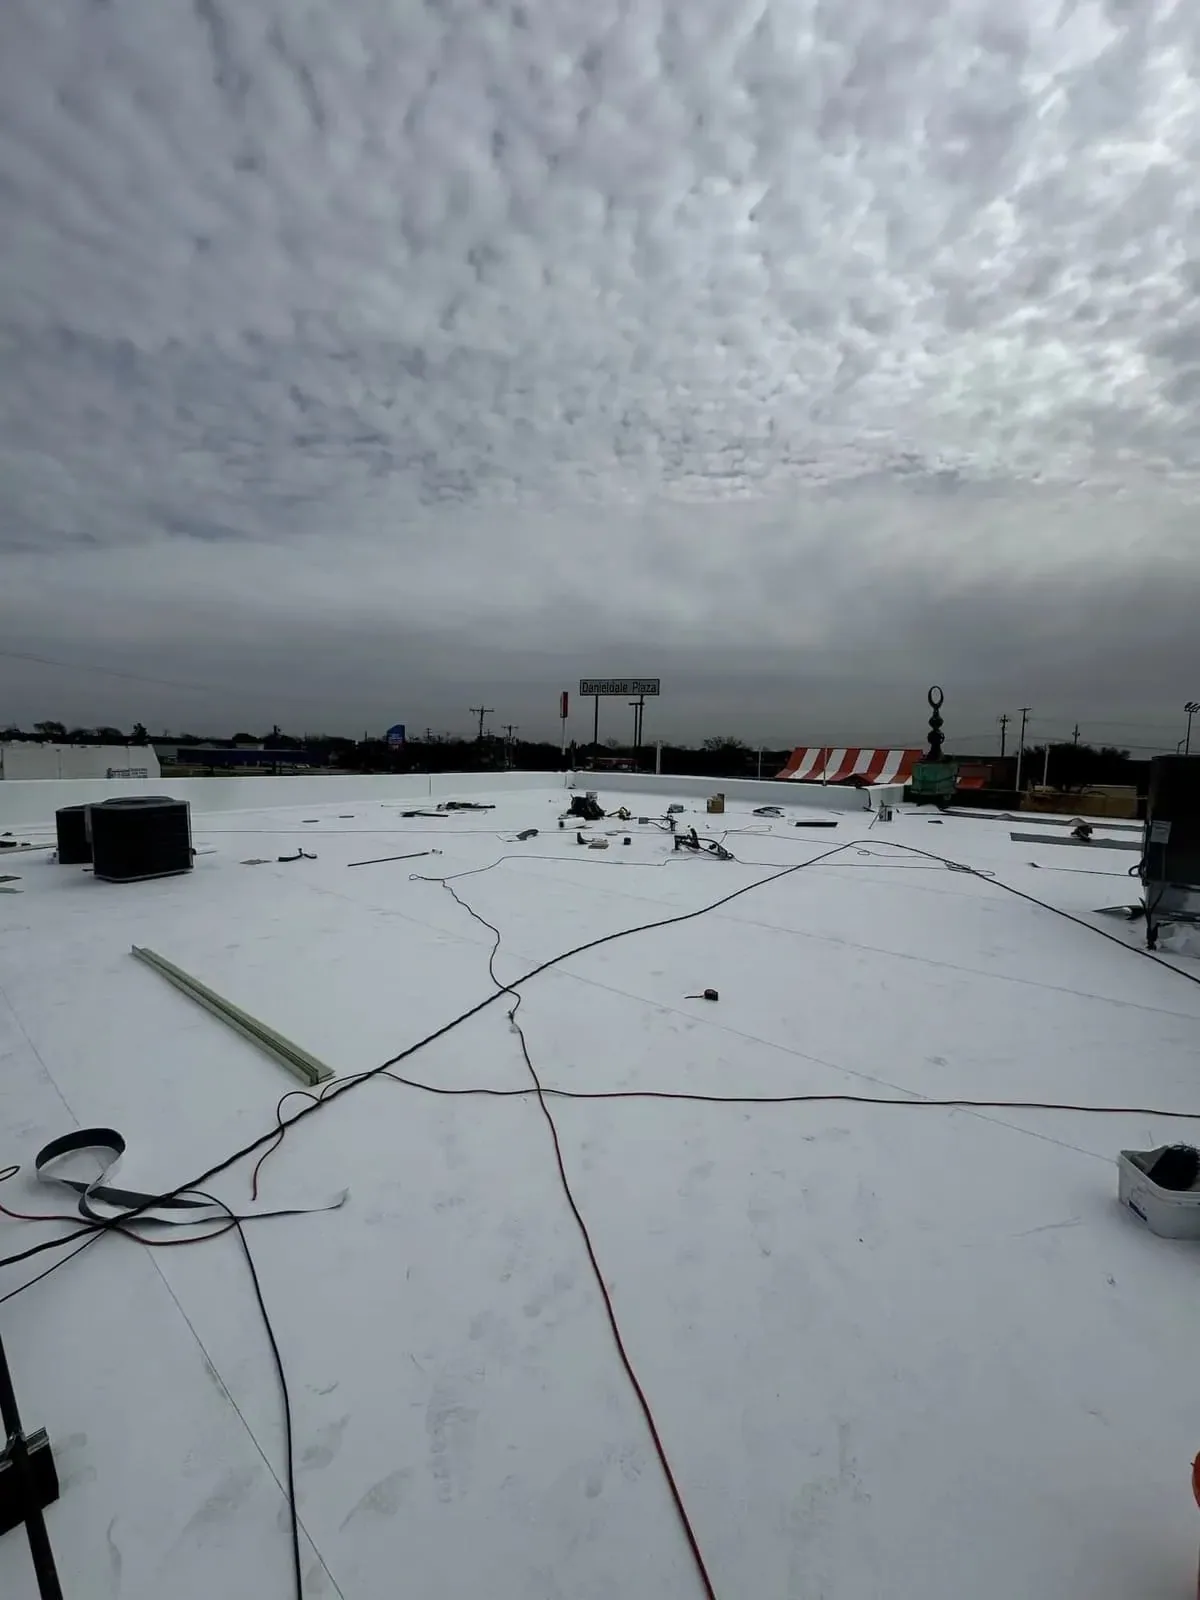
What happens while the crew rebuilds a transition?
First we confirm the work zone, safe roof route, material staging, and person who can approve a field change. For occupied buildings, the contact identifies rooms below the repair and any equipment that cannot lose service. In Gresham’s NE Wilkes Road Industrial Cluster, industrial access and freight movement may affect where a lift or materials can be placed. We coordinate that route before mobilization so the repair does not block an active loading or service path.
The crew removes only enough material to expose the affected detail and maintain a closeable work area. Loose or wet materials are recorded, and any condition beyond the approved scope is protected while the owner reviews the evidence. New flashing is installed according to the compatible roof system, with corners, laps, and terminations treated as part of the assembly. The crew checks the completed tie-in before moving the work zone.
At closeout, the report names the repaired roof zone, materials used, and any limitation that remains. We clear debris and verify that the transition drains as intended. If the building has several similar curbs, the closeout can distinguish the one repaired from other details that were inspected but left unchanged. That record helps facilities staff schedule the next review without treating the whole roof as newly restored.
Which flashing details belong on the service log?
Record the detail type, roof-zone location, material, visible condition, repair date, and photographs before and after work. Record whether a transition is near ponding, heavy equipment, or a service route that sees repeated foot traffic. A later inspection can compare the same corner or termination and tell whether movement has returned. If a leak reappears, the log helps separate the repaired flashing from a nearby seam, drain, or penetration.
Gresham’s rain pattern makes regular checks useful before the wet months, especially at scuppers and wall transitions that collect debris. A maintenance visit can include edge metal, counterflashing, penetrations, and the drainage just below the repaired detail. If a roof has a history of repeat openings, the owner may plan a ponding repair review to check water behavior at those details.
Commercial Roof Flashing Repair FAQs
-
Can you repair flashing without replacing the roof?
Yes, when the surrounding assembly is sound and a compatible tie-in is possible. We inspect the substrate, nearby seams, and moisture condition, then describe the repair limit and any adjacent issue that remains.
-
Why does water show up far from the failed flashing?
Water can move beneath the membrane or along the deck before reaching an interior surface. We compare the roof layout, slopes, and leak location, then separate visible defects from a suspected water path.
-
Can you just add sealant around the curb?
A new bead may be temporary if the old material, attachment, or joint is failing. We identify why the transition opened and select a compatible method that restores the detail rather than covering an unstable surface.
-
How long does a flashing repair take?
A small, accessible detail may fit one work window. Curb reconstruction, wet materials, weather, cure conditions, or equipment access can extend the sequence, which we outline before scheduling.
-
Will you check other roof penetrations during the visit?
We can record visible nearby details and include additional work only when the owner approves it. The report labels the repaired transition separately from other items that may need maintenance or follow-up.
Related Roofing Work
Glisan and Stark High-Tech Employment Corridor
Learn More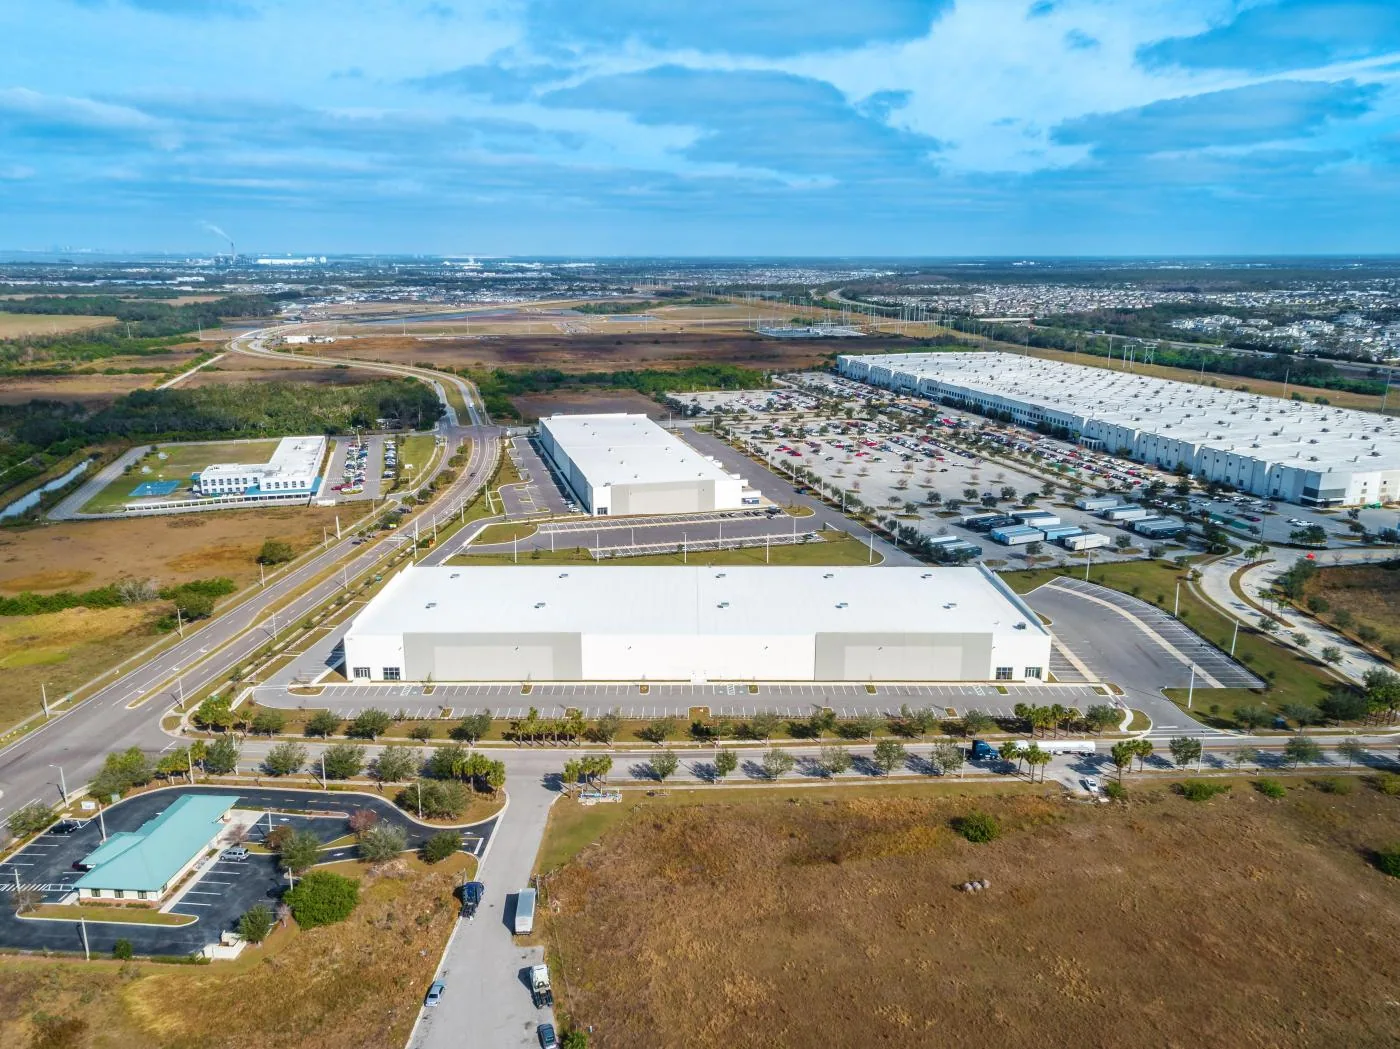
Southshore Corporate Park
Learn More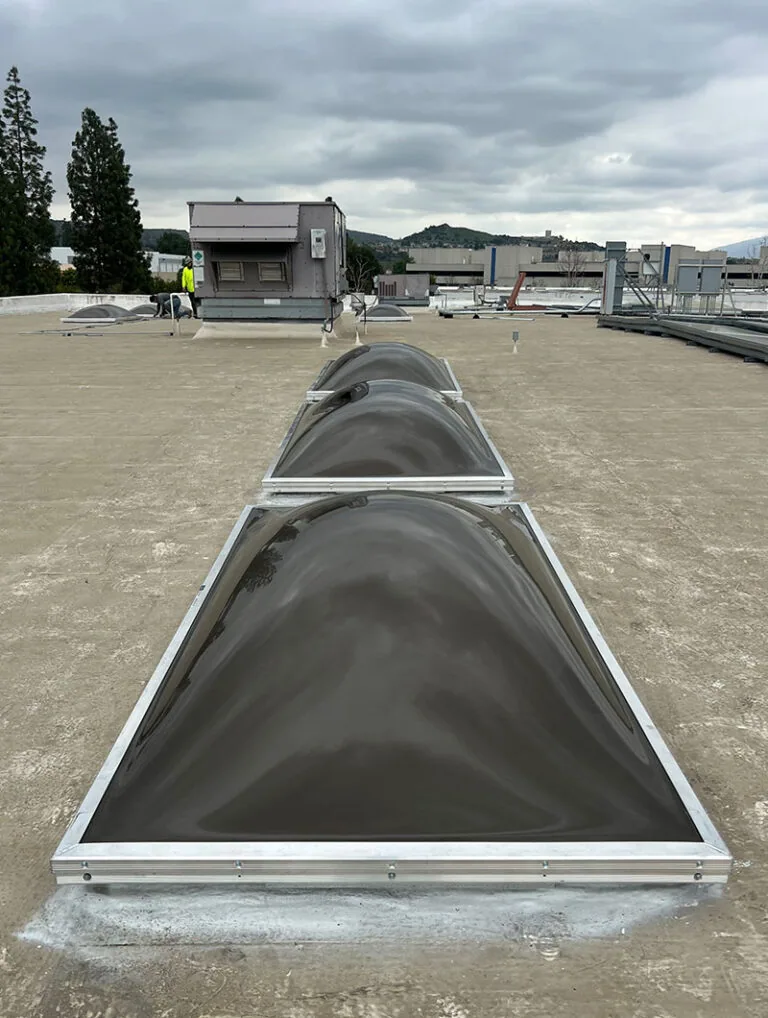
Commercial Skylight and Penetration Flashing
Learn More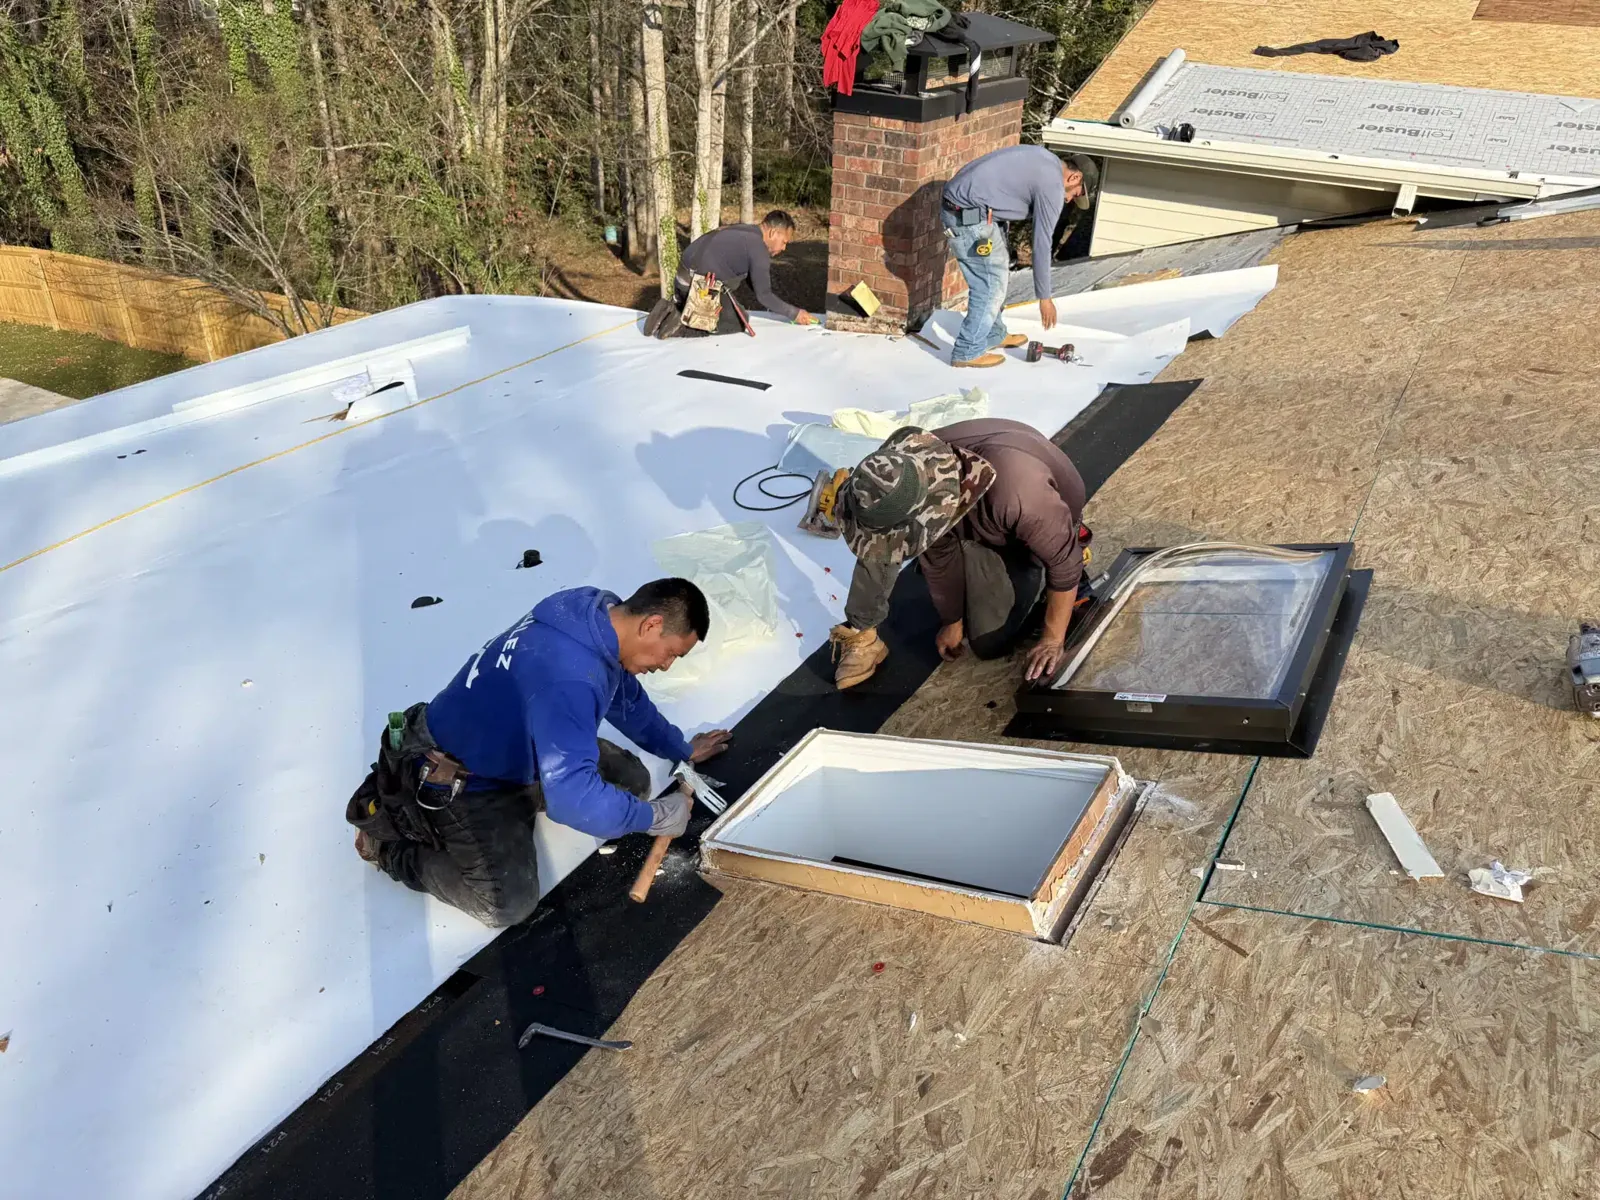
Commercial Roof Seam Repair
Learn More
Commercial Roof Condition Reports
Learn More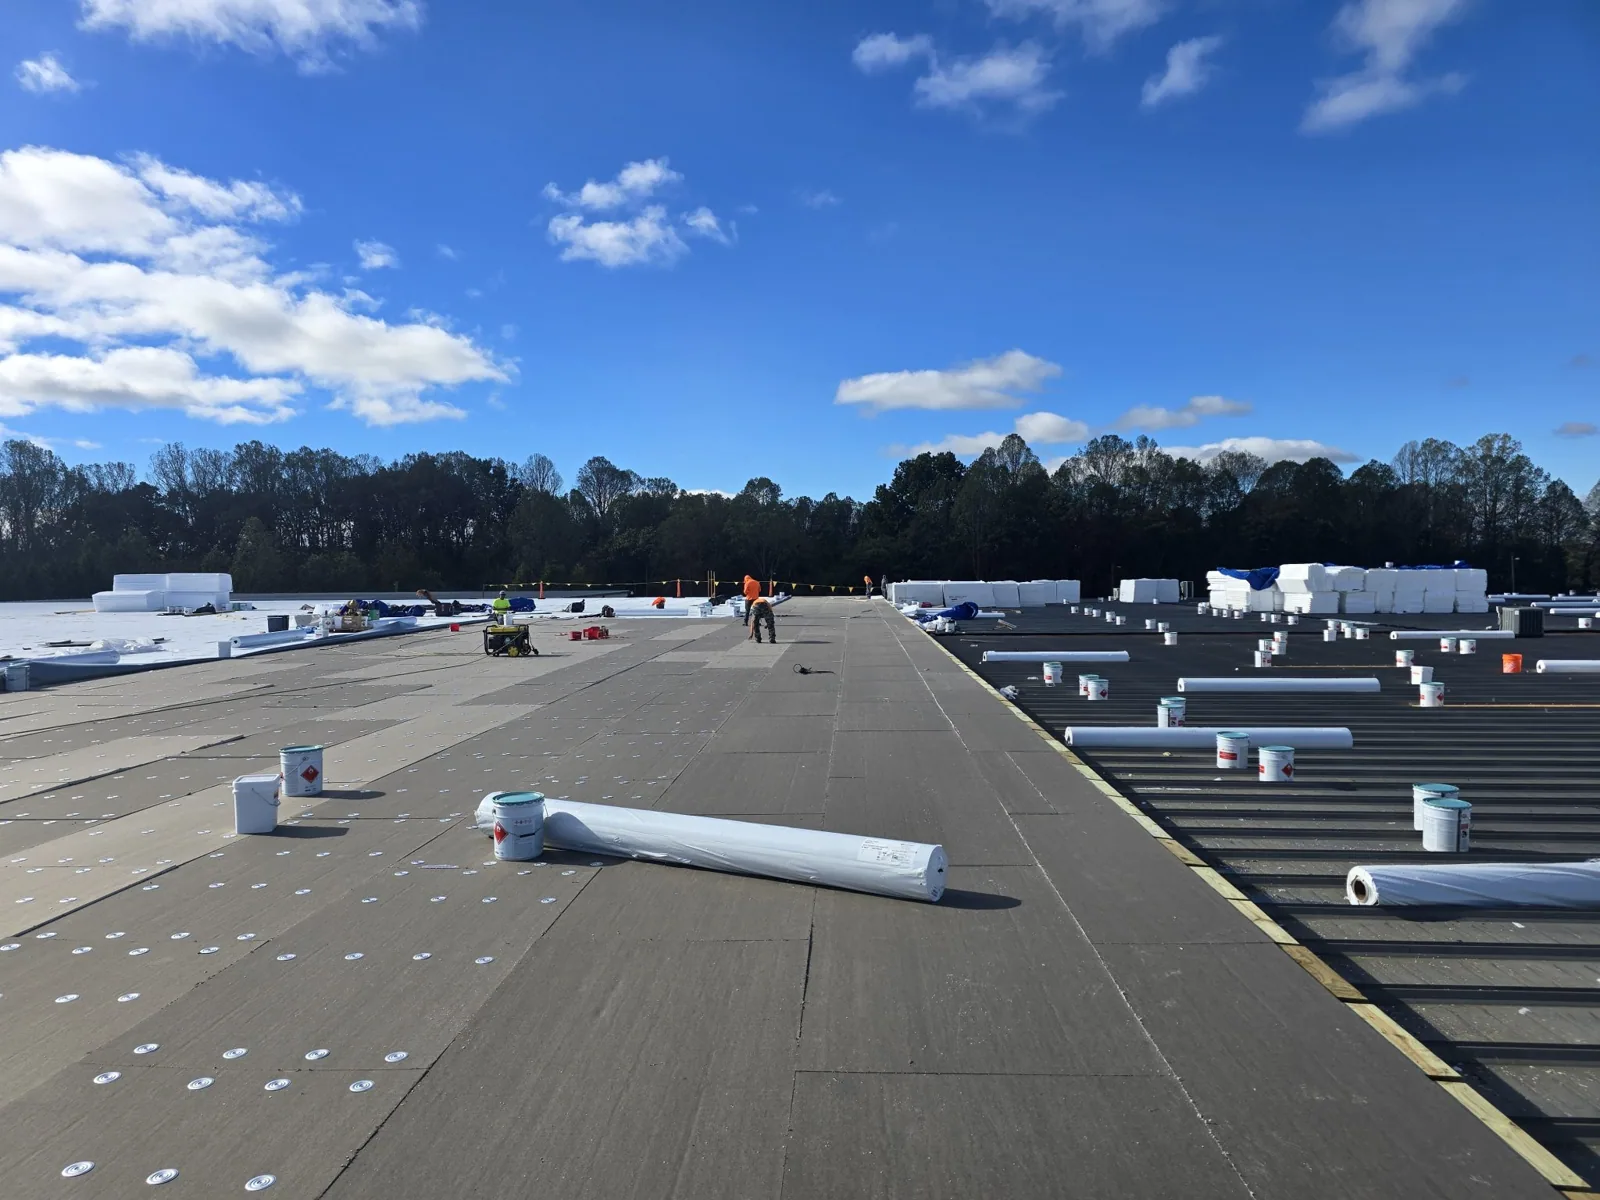
Commercial Roof Repair
Learn MoreTrace the leak to its roof transition
Request a roof assessment in Gresham
Schedule a roof walk in Gresham. We will coordinate access, inspect the flashing detail, and prepare a repair sequence around occupied hours and equipment operations. Tell us about the building, the roof and what you are seeing. Call 555-555-5555, email [email protected] or send the details through our contact page and we will set up a time to walk the roof.